ECE Movement Curriculum · Preschool and Pre-K

28 Tire Activities for Preschoolers: Floor-Level Agility and Outdoor Exploration

Use tires as flexible movement markers, rolling props, and cooperation cues in 28 illustrated activities adapted for North American ECE settings. The default is clean, intact, floor-level play; installed tire structures remain a separate professional-equipment scope.

ADVERTISEMENT

Quick Teacher Guide: Tire Play in Preschool

Keep these four points in mind before setting up any of the 28 activities below:

Inspect Every Tire

Use only clean, intact tires without exposed wire, sharp edges, trapped water, or unpredictable rolling. A soft ring is the default substitute when control is difficult.

Loose Versus Installed

Loose tires stay flat and floor-level. Tire mounds, arches, waves, and climbing walls belong only to professionally installed, inspected equipment under site policy.

Clear Routes

Use dry, level surfaces, one-way lanes, open walk-outs, and generous buffers. Children do not ride, stand on unstable tires, or roll tires toward people.

Adjust the Challenge

Offer stepping before hopping, walking before running, and floor markers before elevated or installed structures. A child can observe, choose a lighter prop, or stop.

Chapter 8 — Illustrated Activity Cards

28 Tire Movement Activities

Browse the activity cards below. Each card identifies whether it uses a loose tire, a soft substitute, or an installed structure, then gives setup, safety, and floor-level progression guidance.
Activity 8-1: Tire-Top Step and Turn

Tire-Top Step and Turn

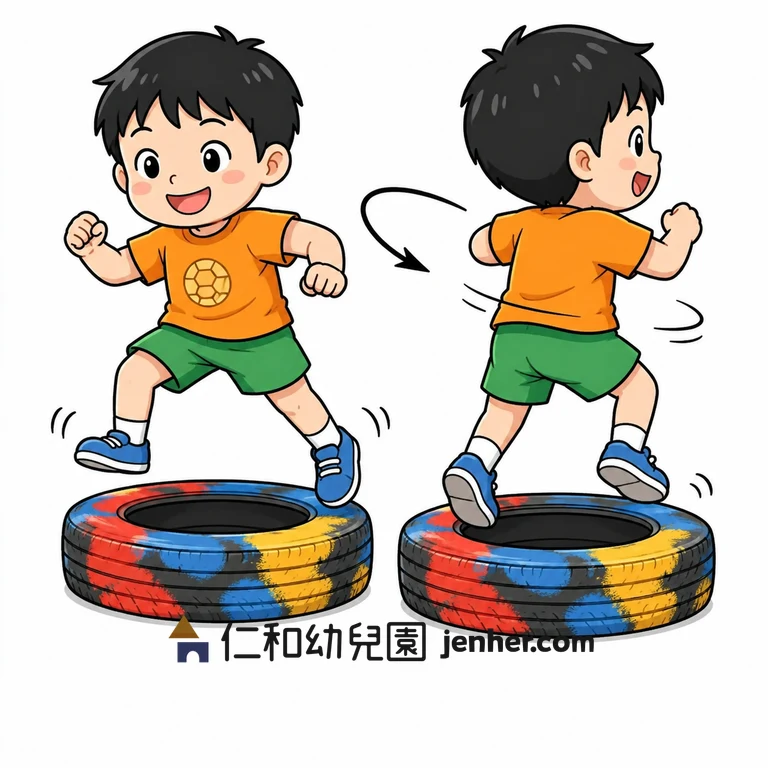
The source illustration shows a child jumping and turning on a tire. For preschool classroom safety, adapt this into a low step-and-turn on a stable flat tire or floor spots instead of jumping and rotating on an unstable rim.

Teacher Notes: Setup, Safety & Variations
Aim: Explore a change of direction while keeping the feet and body controlled.
Equipment: One clean, intact, lightweight tire that cannot roll unexpectedly; floor spots are optional.
Setup: Use a dry, level surface with an open landing area. The educator checks the tire before the child steps near it.
Steps: Walk around the tire, step onto a stable rim only if approved, make a small turn, and step back to the floor. A hop is not required.
Safety: Do not use a tire with exposed wire, sharp edges, water, or movement underfoot. No turning jump from a raised surface and no child stands on a loose tire that tips.
Make It Easier: Turn on a floor spot beside the tire.
Make It Harder: Add a named direction—left or right—before the child steps down.
Teacher Cue: "Find a steady foot, turn small, and step back to the ground."
Activity 8-2: Tire In-and-Out Steps

Tire In-and-Out Steps

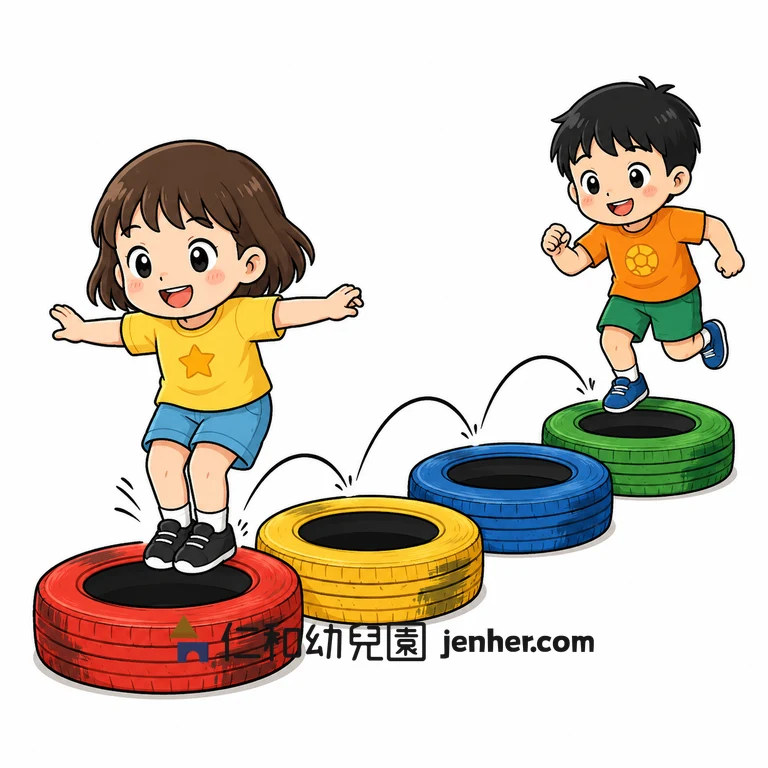
Place tires flat in a clear path. The child steps into the opening and back out, then continues to the next tire; small hops are optional.

Teacher Notes: Setup, Safety & Variations
Aim: Practice stepping into and out of a defined space while adjusting the feet.
Equipment: Clean, intact tires placed flat on a dry, level surface.
Setup: Leave a walk-out at the end and space lanes so children do not cross. An educator checks that each tire lies flat.
Steps: Approach slowly, place one or both feet inside, step back out, and continue. Invite a two-foot hop only when the child can land quietly.
Safety: Do not use wet, unstable, or tightly packed tires that catch a foot. Walking is always acceptable; no racing or jumping over another child.
Make It Easier: Use one tire and step in and out while holding an adult's hand if needed.
Make It Harder: Alternate a step-in, step-out pattern with a pause at each tire.
Teacher Cue: "Inside, outside, pause—look where your feet will go."
Activity 8-3: Inspected Tire-Mound Climb

Inspected Tire-Mound Climb

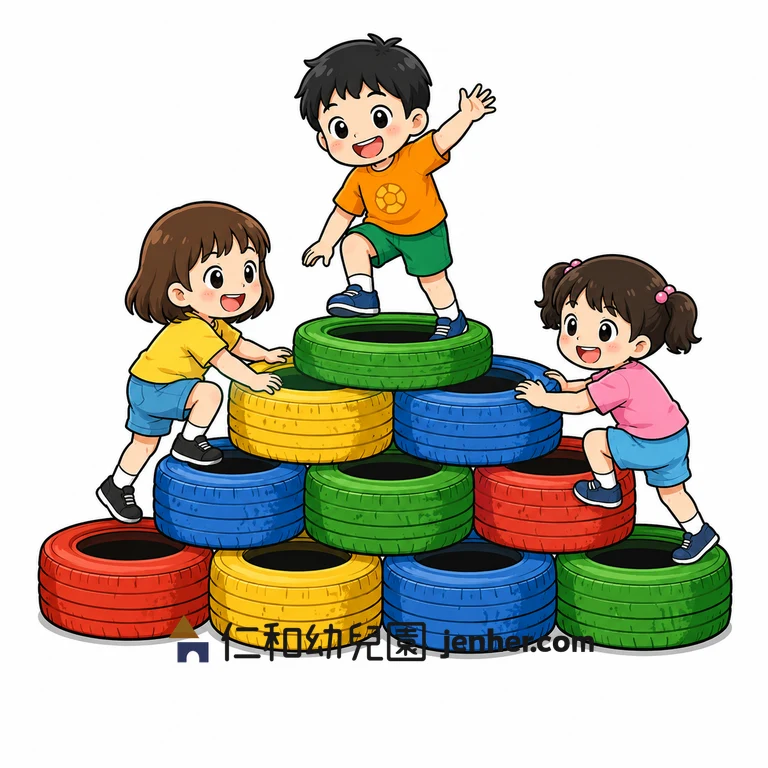
The source shows tires stacked as a small mountain. Use only a professionally installed, inspected structure; loose tire stacks are not a classroom construction project.

Teacher Notes: Setup, Safety & Variations
Aim: Plan hand and foot placements while climbing and returning with control.
Equipment: A fixed, program-approved tire-climbing structure with an appropriate impact-attenuating surface; do not build a loose stack.
Setup: Use the structure only after the program's inspection. Keep one child on the route and an educator close to the entry and exit.
Steps: The child observes the route, climbs one stable step at a time, pauses at a comfortable point, and descends facing the structure.
Safety: Do not stack loose tires, climb on unstable sidewalls, or allow children to jump from the structure. Follow the equipment owner's inspection and supervision policy.
Make It Easier: Practice stepping over one flat tire on the ground.
Make It Harder: Ask the child to name the next hand or foot placement before moving, without adding height.
Teacher Cue: "Three points stay steady—look, place, and climb only where the structure is ready."
Activity 8-4: Tire Driver Pretend Play

Tire Driver Pretend Play

The child holds a lightweight tire or ring as a steering wheel and walks, turns, and stops when the educator calls traffic cues.

Teacher Notes: Setup, Safety & Variations
Aim: Practice changing speed and direction while carrying an object.
Equipment: A lightweight, clean tire or large soft ring for each child or pair.
Setup: Set wide travel lanes and use walking speed. Remove furniture and keep children traveling in one direction.
Steps: Hold the tire at waist level, walk along the lane, turn at a marker, and freeze on the stop cue.
Safety: Do not run while holding a heavy tire or swing it near another child. Use a soft ring when a tire is too large or heavy to control.
Make It Easier: Drive in place with feet planted and turn the ring left and right.
Make It Harder: Add a slow reverse walk only with an adult guiding the clear path; never back into traffic.
Teacher Cue: "Eyes forward, walking wheels, and freeze when the signal says stop."
Activity 8-5: Gentle Tire Pull

Gentle Tire Pull

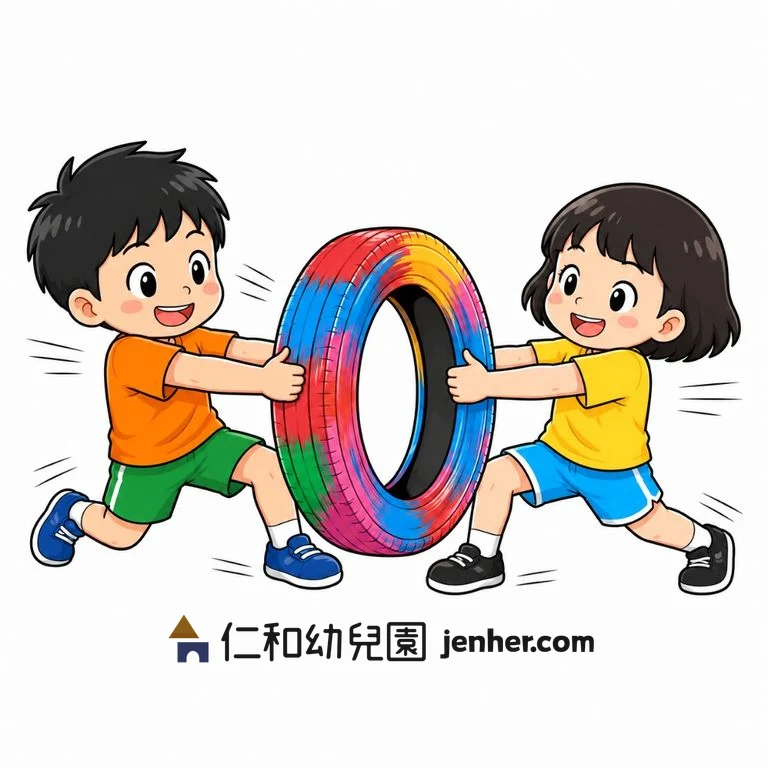
The source illustration shows a tire tug-of-war. For preschool active play, adapt this into a gentle partner pull exploring shared resistance without competitive pulling, jerking, or falling backward.

Teacher Notes: Setup, Safety & Variations
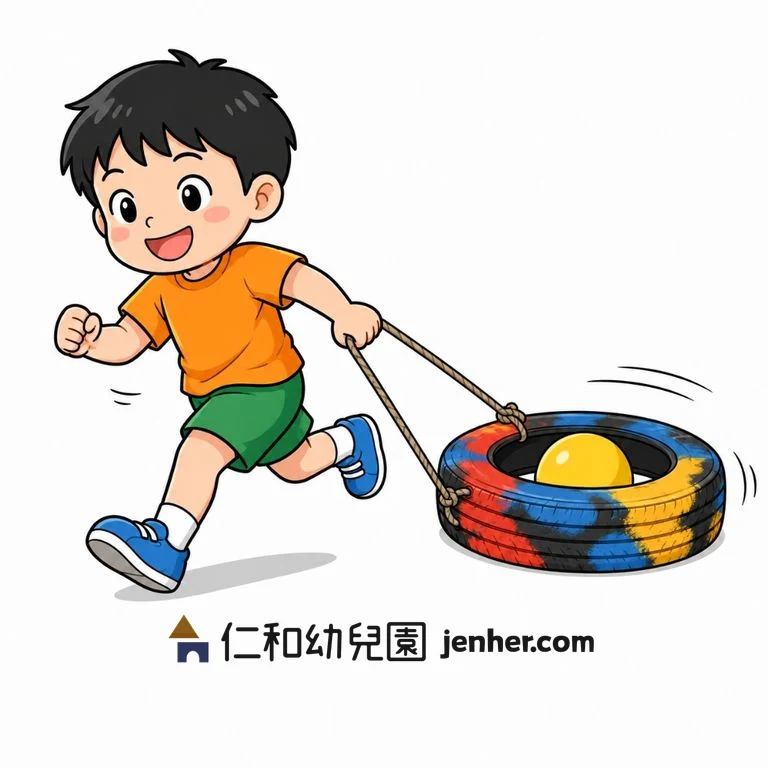
Aim: Notice how a partner's force changes the body's balance while communicating a stop.
Equipment: A lightweight, inspected tire or a soft resistance ring; avoid heavy vehicle tires.
Setup: Use a dry level surface with partners facing each other and a clear space behind each person.
Steps: Hold the tire at waist level, lean a little, return to center, and switch who gives the cue. Release before either partner steps backward.
Safety: No jerking, pulling to the floor, wrapping hands in the tire, or competitive force. Stop immediately if the tire moves toward a foot or a partner loses balance.
Make It Easier: Push the tire gently toward a floor spot and release instead of working with a partner.
Make It Harder: Practice three slow lean-and-return cycles with a spoken count.
Teacher Cue: "Gentle pull, strong feet, listen for stop."
Activity 8-6: Tire Shuttle Walk

Tire Shuttle Walk

The source illustration shows a child riding inside a tire pulled as a space shuttle. In this adaptation, place a soft ball inside the tire and guide it along the floor from the outside; children walk and do not ride inside the tire.

Teacher Notes: Setup, Safety & Variations
Aim: Coordinate an object pathway while watching what happens inside the tire.
Equipment: A lightweight inspected tire and a soft ball that fits loosely inside it; use a short rope only if a program-approved product allows it.
Setup: Mark a straight route on a flat, dry surface. Keep the route one-way and leave a wide buffer around the moving tire.
Steps: Place the ball inside, push or guide the tire slowly to the marker, stop, check the ball, and return outside the travel lane.
Safety: Do not let a child sit in, ride, or pull a heavy tire. Avoid ropes around the body and stop if the tire tips or rolls unpredictably.
Make It Easier: Roll a soft ball across the floor to a target without a tire.
Make It Harder: Follow two wide floor markers while keeping the tire at walking speed.
Teacher Cue: "Slow shuttle, eyes on the route, stop before the tire tips."
Activity 8-7: Seated Tire Balance

Seated Tire Balance

The child sits on a stable tire edge and lifts or lightens the feet briefly while keeping the hands ready for support. There is no required hold time.

Teacher Notes: Setup, Safety & Variations
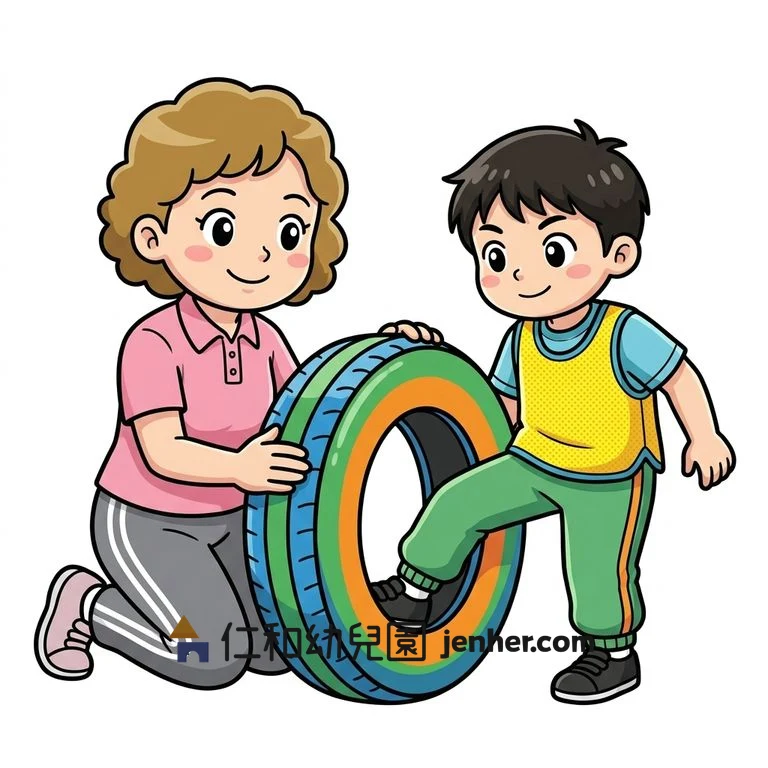
Aim: Notice small changes in balance while seated and return the feet safely.
Equipment: A clean, stable tire that cannot roll; a mat may be placed around it but must not make the tire unstable.
Setup: Use level ground with an educator beside the child and a clear space around the tire.
Steps: Sit on the edge, place hands beside the body, lighten one or both feet for a comfortable moment, and set the feet down before standing.
Safety: Do not use an unstable or wet tire. Keep feet close to the floor, never stand on the sidewall, and stop before the child tips or feels uneasy.
Make It Easier: Keep both feet down and reach for a soft object beside the tire.
Make It Harder: Lift one foot at a time while naming which side feels steady.
Teacher Cue: "Hands ready, feet close, and balance only as long as it feels comfortable."
Activity 8-8: Sideways Tire Passage

Sideways Tire Passage

An adult stabilizes an upright tire while the child turns sideways and steps through the opening one body part at a time.

Teacher Notes: Setup, Safety & Variations
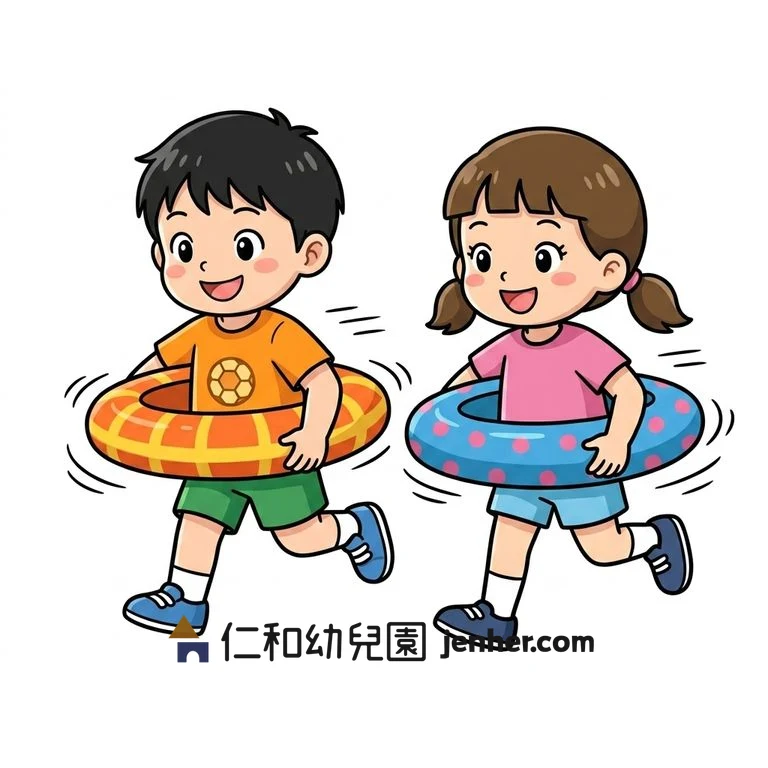
Aim: Plan how the body fits through a defined opening.
Equipment: A lightweight, clean tire and an adult or approved stand to hold it securely.
Setup: Use a flat, dry surface with a wide exit. The adult keeps the tire still and removes it if it begins to tip.
Steps: Approach sideways, place one shoulder and foot through, turn the hips, bring the remaining leg through, and walk away.
Safety: Never let an upright loose tire fall onto a child. The opening must be large enough to avoid trapping the head, neck, hands, or feet; no pushing through a tight fit.
Make It Easier: Step around the outside of the tire or walk through a large soft hoop.
Make It Harder: Carry a soft beanbag through the opening without rushing.
Teacher Cue: "Turn sideways, move one part at a time, and keep the exit open."
Activity 8-9: Tire Body-Shape Explorer

Tire Body-Shape Explorer

The child steps through a lightweight tire and explores a pretend satellite shape around the trunk, keeping the tire well away from the face and neck.

Teacher Notes: Setup, Safety & Variations
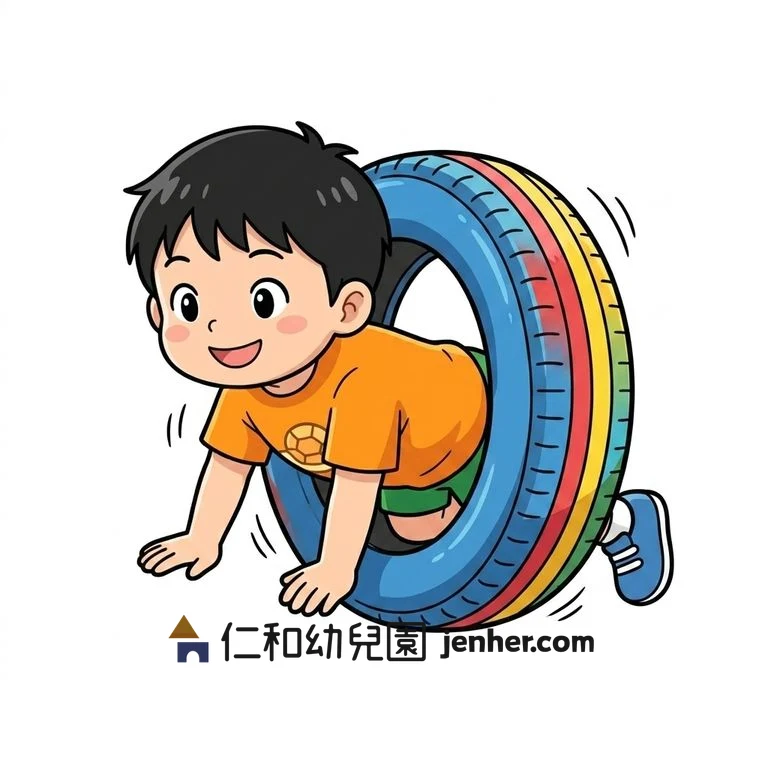
Aim: Explore how an object relates to the body's outline and movement.
Equipment: A lightweight, flexible tire or large soft ring with an opening large enough for easy release.
Setup: Use a clear floor space. The educator demonstrates stepping through and keeps a hand ready to remove the prop.
Steps: Hold the ring at the waist, step through, walk a few steps, and return it to the floor. Children may simply orbit around it instead.
Safety: The tire stays below the shoulders and away from the neck, head, and face. Do not trap the body inside, spin the tire, or use a heavy tire.
Make It Easier: Walk around a floor tire and name body parts that pass beside it.
Make It Harder: Change from standing to a squat beside the tire, then return to standing without wearing it.
Teacher Cue: "Around your middle, never near your neck, and release whenever you want."
Activity 8-10: Self-Directed Tire Passage

Self-Directed Tire Passage

Lay a tire flat and invite the child to explore moving through the center and standing up, choosing head-first or feet-first only when the opening is generous and comfortable.

Teacher Notes: Setup, Safety & Variations
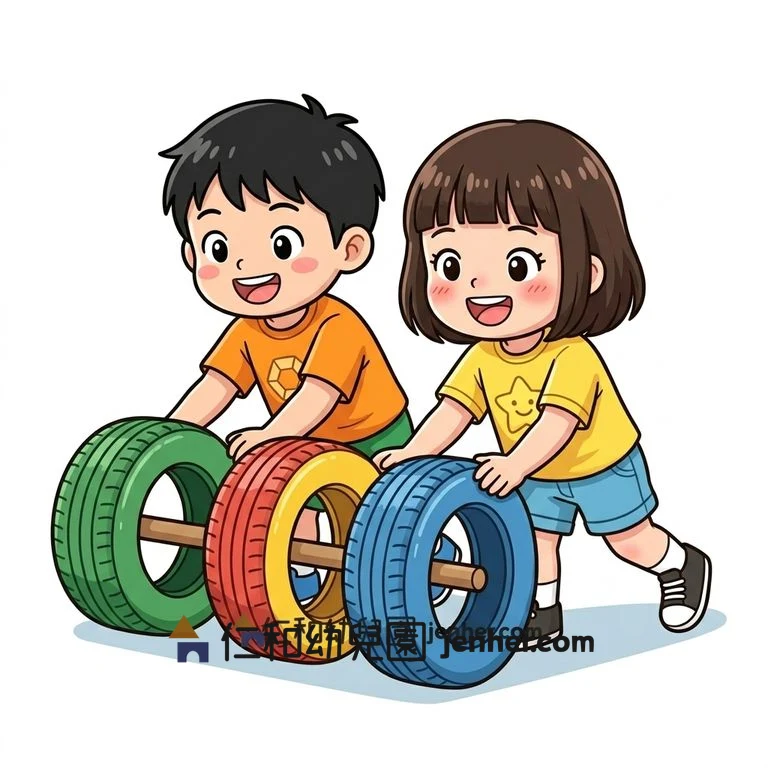
Aim: Plan a floor-level pathway and notice how the body changes position.
Equipment: A clean, stable tire with an opening that cannot trap the child's body; a soft mat may surround it.
Setup: Place the tire flat on level ground and keep an adult within arm's reach without pulling the child through.
Steps: Touch the rim, choose a comfortable entry, crawl through, pause, and stand or sit on the other side.
Safety: Do not use a small opening, lift the tire over a child, or pull on a limb. Stop if clothing, hair, or a body part catches.
Make It Easier: Crawl through a large play tunnel or around the tire.
Make It Harder: Move through while carrying a soft beanbag, with no speed challenge.
Teacher Cue: "Check the opening, move slowly, and come out where I can see you."
Activity 8-11: Program-Approved Tire Train

Program-Approved Tire Train

The source shows four tires connected for a group pull. Treat this as a program-owned equipment activity only; do not make a tire train with a metal rod or improvised connector.

Teacher Notes: Setup, Safety & Variations
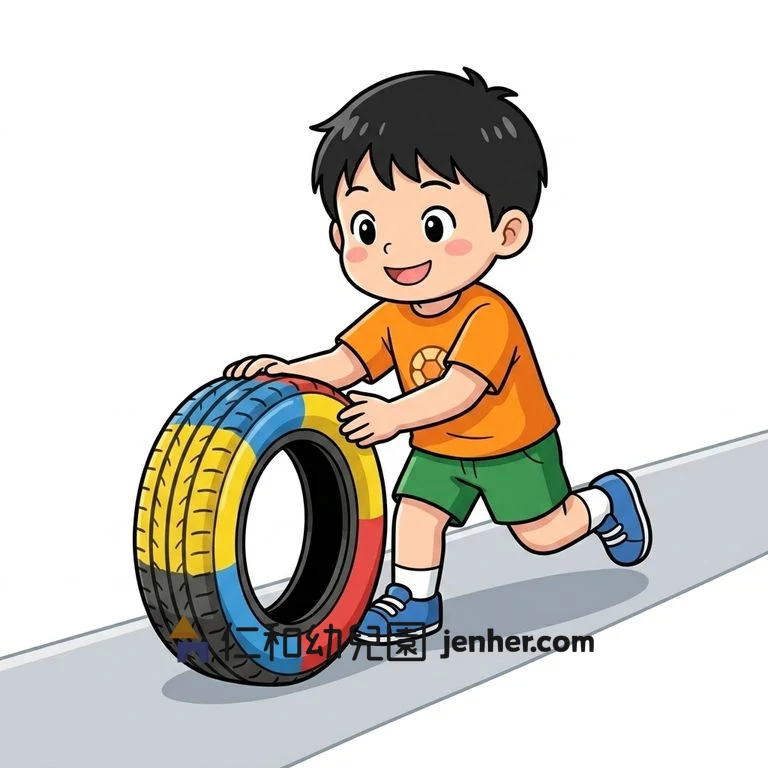
Aim: Coordinate a group movement while learning to stay clear of wheels and connectors.
Equipment: Only a commercially designed, inspected tire-train or cart system approved by the program; no loose tires, rods, or homemade connectors.
Setup: Use the equipment owner's flat, clear route and supervision requirements. One adult controls the start, stop, and direction.
Steps: Inspect the approved system, assign a place for each child, walk slowly on the educator's cue, stop together, and exit only after the system is secured.
Safety: Never place a child in or behind an improvised tire train. Keep feet away from wheels, use no running or downhill route, and stop if the connector shifts.
Make It Easier: Have children push an empty cardboard box together on a clear floor.
Make It Harder: Add a stop-and-check cue at a floor marker without increasing load or speed.
Teacher Cue: "Stay beside the equipment, walk together, and stop when the adult says stop."
Activity 8-12: Tire Roll and Follow

Tire Roll and Follow

The child pushes a lightweight tire forward and walks beside it, adjusting the hands to keep the tire moving along a straight path.

Teacher Notes: Setup, Safety & Variations
Aim: Adjust force and direction while following a moving object.
Equipment: A small, lightweight, clean tire that rolls smoothly on the chosen surface.
Setup: Use a wide one-way lane with a long run-out and no children crossing the roll path.
Steps: Stand behind the tire, push gently with both hands, walk beside it, stop it before the boundary, and return outside the lane.
Safety: Do not roll tires toward people, downhill, or on wet ground. The educator checks the tire and keeps generous spacing between turns.
Make It Easier: Roll a soft ball along a taped line instead.
Make It Harder: Guide the tire around two widely spaced cones at walking speed.
Teacher Cue: "Gentle push, walking feet, and stop before the line."
Activity 8-13: Tire Tip-and-Roll Strength Play

Tire Tip-and-Roll Strength Play

The source illustration shows a 'strongman' lifting a tire off the ground. For preschool gross motor play, adapt this by tipping and rolling a lightweight tire on its tread instead of lifting heavy tires.

Teacher Notes: Setup, Safety & Variations
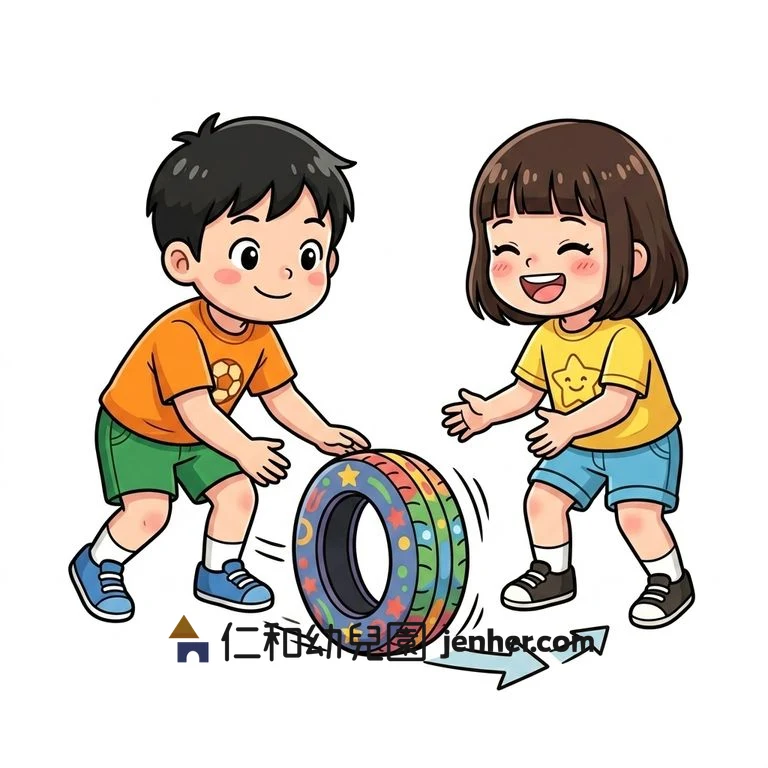
Aim: Explore whole-body pushing and force control without an overhead lift.
Equipment: A lightweight, inspected tire appropriate for the child to control; never use a heavy vehicle tire for lifting practice.
Setup: Use a level outdoor surface with a clear one-way route and an adult monitoring the tire's direction.
Steps: Squat with hands on the tire, tip it gently, walk with it as it rolls, and stop it at a wide floor marker.
Safety: Do not lift a heavy tire, twist while carrying, or let the tire roll toward feet or people. Stop if the child cannot control the tire.
Make It Easier: Push a lightweight foam block across the floor.
Make It Harder: Change direction at a wide cone while keeping the tire on the ground.
Teacher Cue: "Knees bend, hands guide, tire stays on the ground."
Activity 8-14: Partner Tire Roll

Partner Tire Roll

Partners sit or stand far enough apart to roll a lightweight tire slowly toward one another and guide it to a stop before returning it.

Teacher Notes: Setup, Safety & Variations
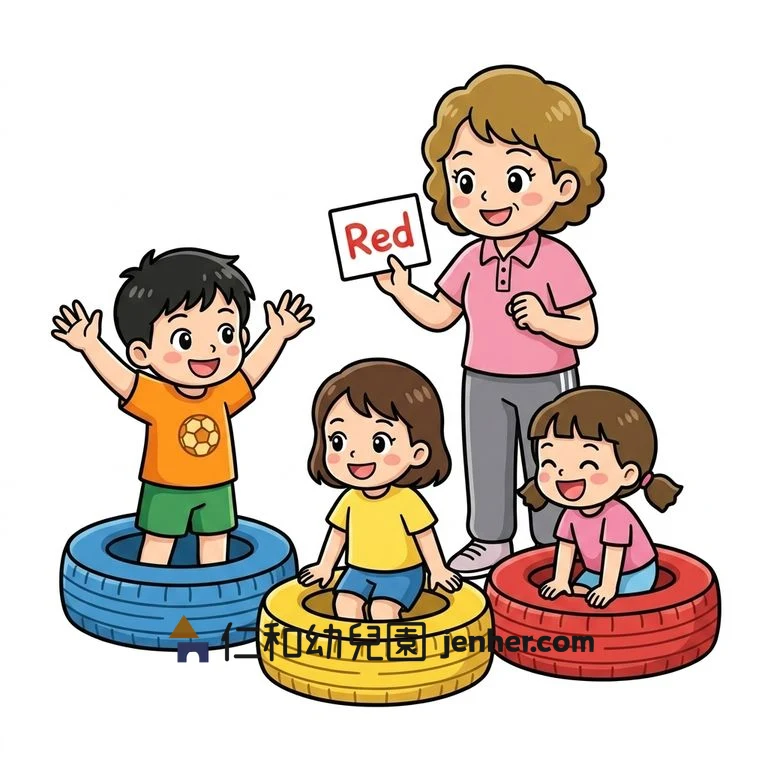
Aim: Adjust force so an object reaches a partner without contact to the body.
Equipment: One lightweight, clean tire and two floor spots marking each partner's space.
Setup: Use a flat, dry lane with no one walking through the roll path. Begin seated if the tire is difficult to control.
Steps: Face the partner, roll the tire slowly, wait for it to stop, and return it with the same gentle force.
Safety: The tire is rolled, never thrown. Keep hands and feet out of the path, use a lighter ring if needed, and stop if the tire veers.
Make It Easier: Roll a soft ball between partners.
Make It Harder: Aim for a wide floor gate beside the partner rather than the partner's feet.
Teacher Cue: "Roll to the spot, not at the person—slow and straight."
Activity 8-15: Color-Tire Reaction Touch

Color-Tire Reaction Touch

Place several colored tires around the play area. On the educator's cue, children move to the named color, touch the outside, and return without crossing another lane.

Teacher Notes: Setup, Safety & Variations
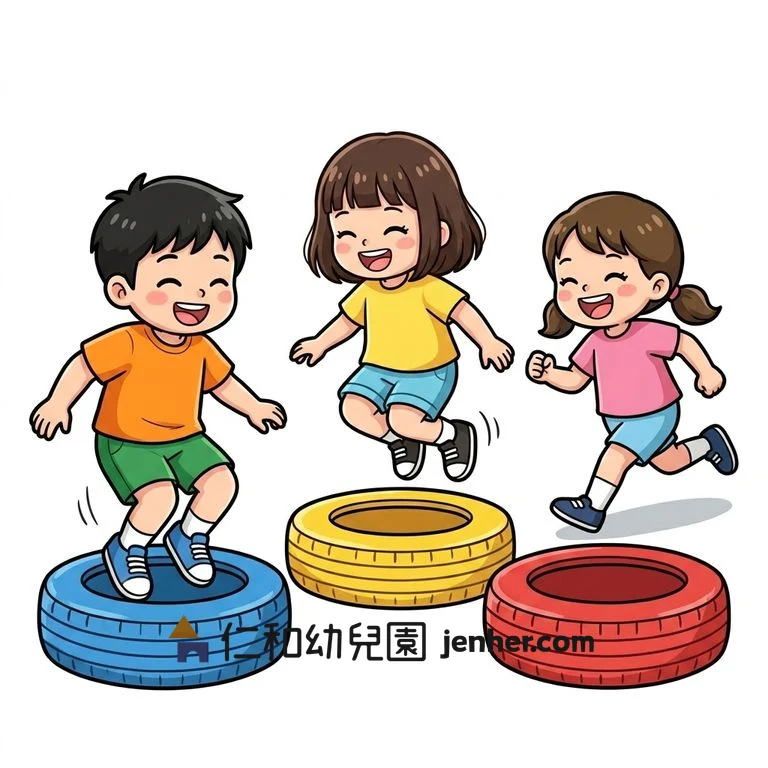
Aim: Connect a spoken color cue with a safe route and controlled return.
Equipment: Three or four clean tires or large floor markers in distinct colors.
Setup: Distribute targets widely and give each child a starting spot. Use walking speed before adding a faster movement.
Steps: Listen, move to the named tire, touch the outside, pause, and return to the starting spot before the next cue.
Safety: Avoid a crowd at one tire. Call one color for a small group or assign different targets; no diving, pushing, or racing across paths.
Make It Easier: Use one tire and practice walking to touch it on cue.
Make It Harder: Call two colors in sequence while children walk and stop between them.
Teacher Cue: "Hear the color, find your lane, touch the outside, and return."
Activity 8-16: Tire Home Base

Tire Home Base

When the music or signal stops, each child walks to an open flat tire and pauses beside or inside it. The goal is finding space, not eliminating players.

Teacher Notes: Setup, Safety & Variations
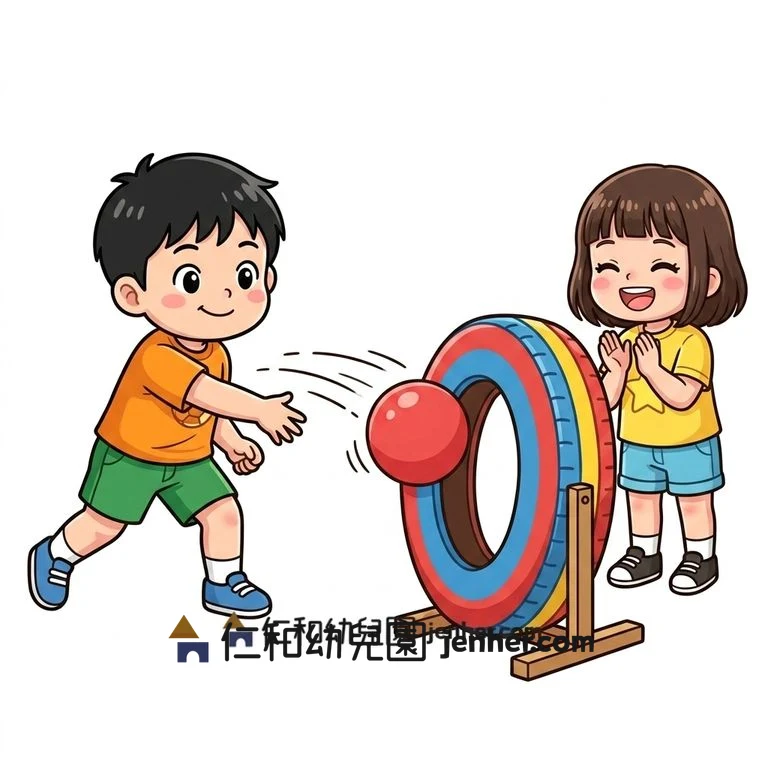
Aim: Practice finding an open space and stopping without pushing.
Equipment: One flat, stable tire or floor spot per child or pair, with extras when possible.
Setup: Place bases far apart and set walking routes. Use a clear signal and keep the educator in view of all travel.
Steps: Move around the area, listen for the signal, walk to an open tire, and stand with both feet stable. Everyone stays in the game.
Safety: No grabbing, racing, or forcing a child into a crowded tire. If no tire is open, use a nearby floor spot or wait with the educator.
Make It Easier: Keep children at assigned bases and practice moving only on a cue.
Make It Harder: Change the locomotor pattern to a side step or tiptoe while preserving walking-speed control.
Teacher Cue: "Find open space, walk safely, and make room for everyone."
Activity 8-17: Tire Target Toss

Tire Target Toss

Lay a tire flat as a target. From behind a line, the child gently tosses a soft ball or beanbag toward the open center and retrieves it after the lane is clear.

Teacher Notes: Setup, Safety & Variations
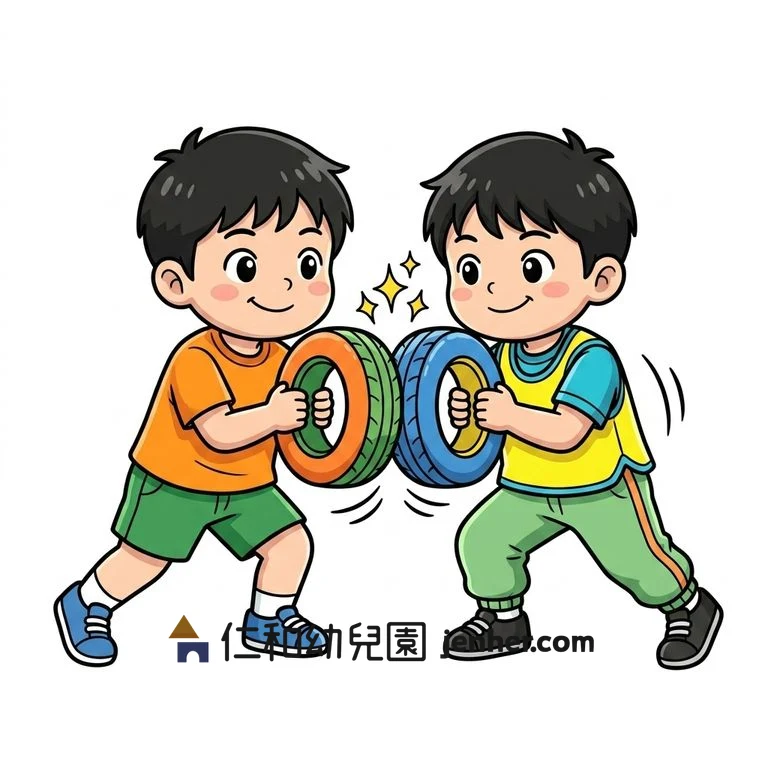
Aim: Practice aiming and grading a gentle underhand throw.
Equipment: A flat, stable tire and soft beanbags or foam balls; do not hang a tire for this preschool version.
Setup: Mark a throwing line and a retrieval line. Children wait behind the line until the educator signals that the target area is clear.
Steps: Stand behind the line, swing the arm low, release toward the center, wait, and retrieve only on the signal.
Safety: Use soft objects and an open floor target. No overhand throws toward faces, no suspended tire, and no child enters the lane during a throw.
Make It Easier: Move the line closer or roll the beanbag instead of tossing.
Make It Harder: Place two tires at different angles and let the child choose a target.
Teacher Cue: "Underhand, eyes on the open center, wait, then retrieve."
Activity 8-18: Tire Boundary Push

Tire Boundary Push

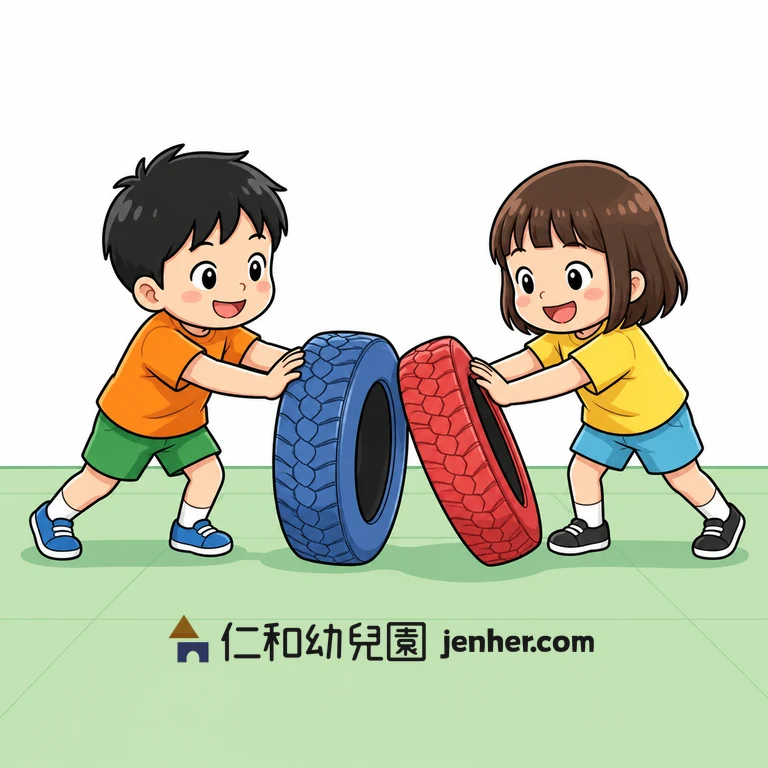
The source illustration shows children pushing tires against each other in a shoving game. For classroom safety, adapt this by having partners push separate lightweight tires toward a floor boundary line in parallel lanes without collisions or body contact.

Teacher Notes: Setup, Safety & Variations
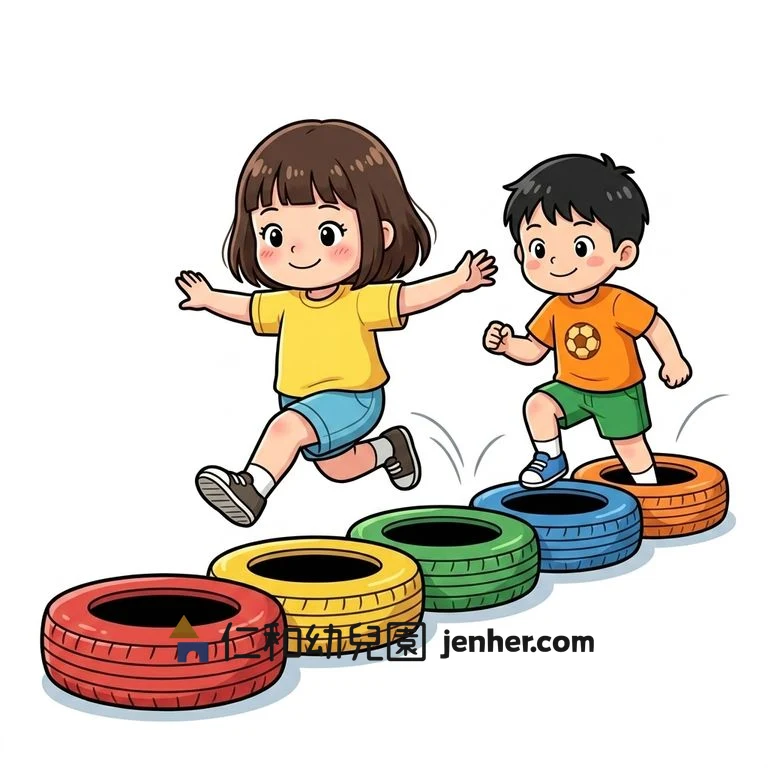
Aim: Use controlled pushing force while maintaining a stable stance.
Equipment: Two lightweight, clean tires and two parallel floor boundaries.
Setup: Give each child a lane and place partners far enough apart that tires cannot meet.
Steps: Place both hands on the tire, bend the knees, push toward the boundary, stop before crossing it, and walk back around the lane.
Safety: Do not push a partner, ram tires together, or use a heavy tire. Stop if a tire changes direction or a child loses balance.
Make It Easier: Push a foam block to a line.
Make It Harder: Use a stop cue halfway to the boundary and hold the tire still.
Teacher Cue: "Push your own tire, keep your lane, and stop before the line."
Activity 8-19: Straight-Line Tire Steps

Straight-Line Tire Steps

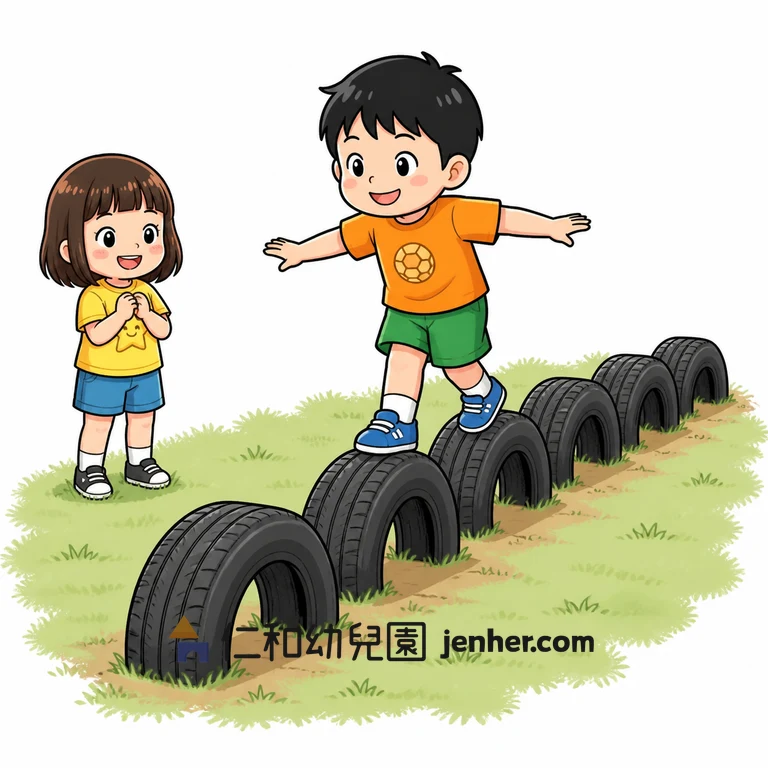
Arrange flat tires in a straight line. Children step into each opening or walk along the outside edge; hopping is offered only when the child can land with control.

Teacher Notes: Setup, Safety & Variations
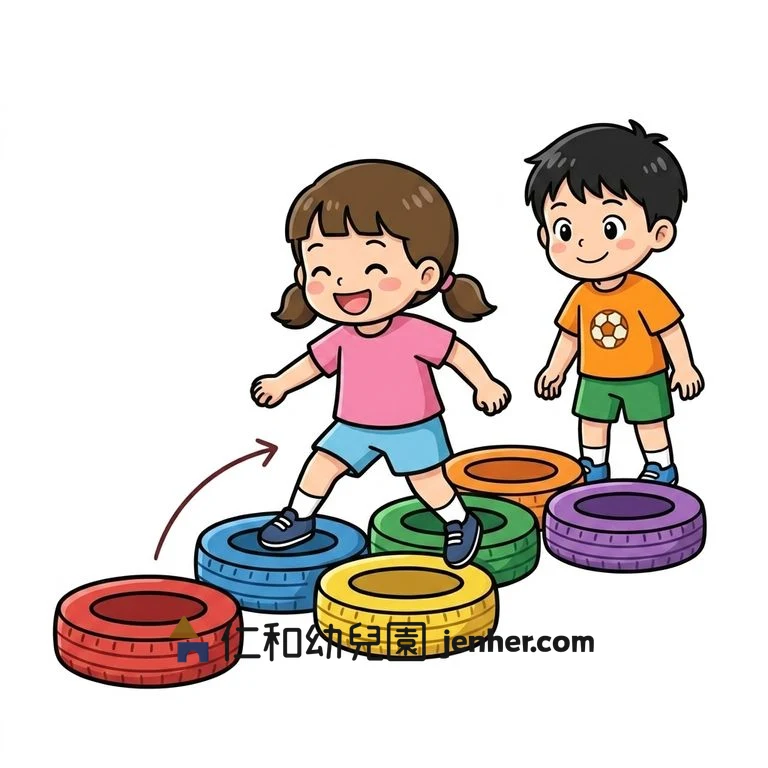
Aim: Practice a repeated foot pattern along a defined path.
Equipment: Flat, stable tires with enough space for the child's feet and a clear lane.
Setup: Check that tires do not overlap or rock. Keep children moving one way and leave a walk-out.
Steps: Walk to the first tire, step in or over, pause, continue to the next, and exit at the end.
Safety: No stepping on an unstable sidewall or jumping across gaps that are too large. Use walking and floor markers whenever the tire arrangement is uncertain.
Make It Easier: Use two floor spots instead of tires.
Make It Harder: Alternate one-foot and two-foot positions without increasing the gap or speed.
Teacher Cue: "One tire at a time—look, place, pause, and continue."
Activity 8-20: Single-and-Double Tire Pattern

Single-and-Double Tire Pattern

Arrange one tire, then two side by side, repeating the pattern. Children step or hop into the spaces and reset at the end of the course.

Teacher Notes: Setup, Safety & Variations
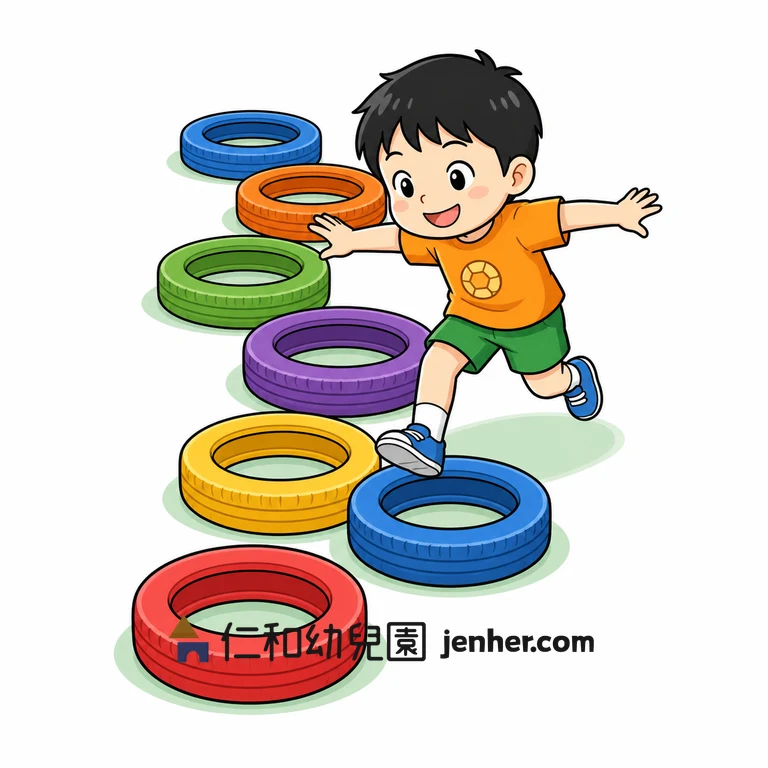
Aim: Remember and coordinate a changing one-space/two-space movement pattern.
Equipment: Flat, stable tires spaced for a comfortable step pattern.
Setup: Set one-way lanes and demonstrate the pattern slowly. Use floor spots where tire spacing is not consistent.
Steps: Step into the single opening, place both feet in the double opening, pause, and repeat the pattern.
Safety: Stepping is the default. Do not force a hop, crowd lanes, or ask children to jump onto a tire that moves.
Make It Easier: Use colored floor spots labeled one and two.
Make It Harder: Have the child say "one, two" while moving, keeping the same pace.
Teacher Cue: "Single space, double space—your feet choose the safe way in."
Activity 8-21: Zigzag Tire Path

Zigzag Tire Path

Place tires in a wide zigzag. The child changes direction at each tire using a walk, side step, or small controlled hop.

Teacher Notes: Setup, Safety & Variations
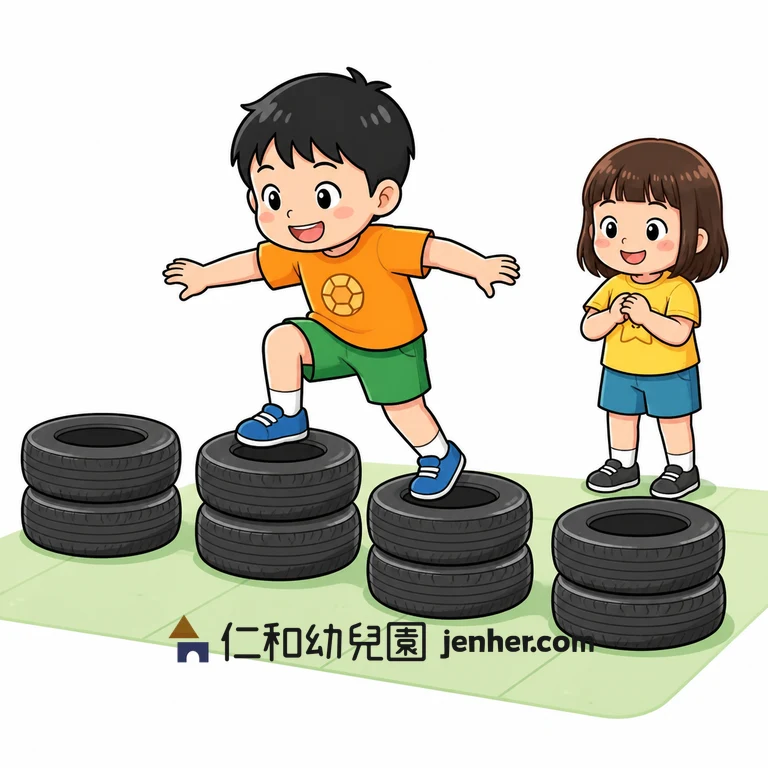
Aim: Adjust body direction and foot placement through a changing pathway.
Equipment: Flat, stable tires and cones or floor markers to define the zigzag route.
Setup: Leave broad turns and a clear exit. The educator demonstrates the route and keeps the path one way.
Steps: Approach the first tire, step around or through it, turn toward the next marker, and keep walking until the exit.
Safety: No sharp cuts at speed or crossing paths. Use a walk or side step when a hop makes the child unstable.
Make It Easier: Use a straight line of floor spots with wide turns.
Make It Harder: Add a pause at each turn and name the next direction before moving.
Teacher Cue: "Wide turn, eyes ahead, and find the next tire before you move."
Activity 8-22: Secured Two-Level Tire Step

Secured Two-Level Tire Step

The source shows tires stacked two high. Use a fixed, inspected low structure or floor-level tire pattern; do not stack loose tires for children to climb.

Teacher Notes: Setup, Safety & Variations
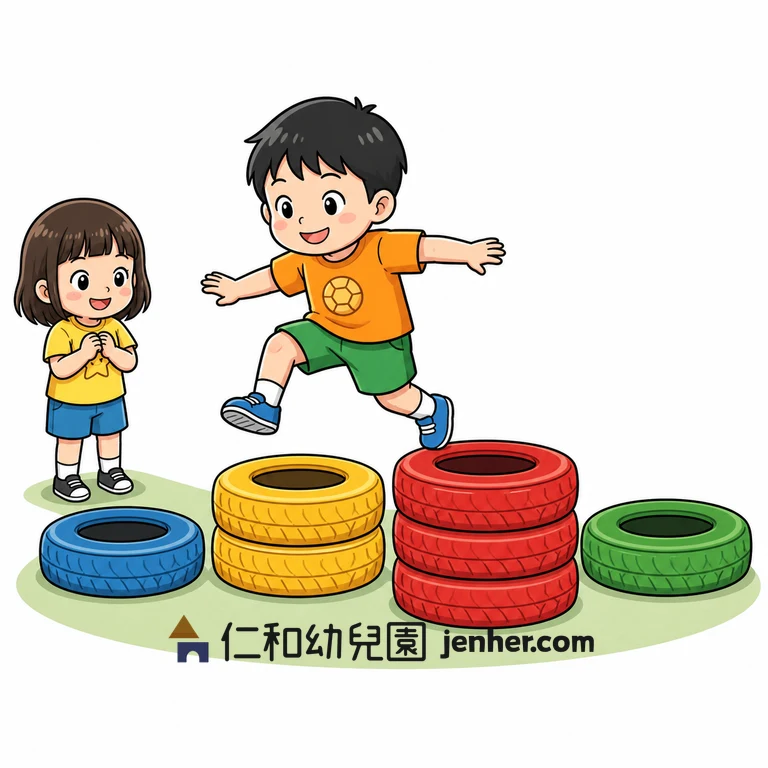
Aim: Practice stepping to a slightly different level while planning the return.
Equipment: A professionally installed, program-approved low tire element with appropriate surfacing, or flat tires for the floor-level version.
Setup: Follow the equipment owner's inspection and supervision plan. Keep the landing area clear and the child facing the structure when stepping down.
Steps: Observe the step, place one foot, shift weight only when stable, pause, and step back down with the educator nearby.
Safety: Do not make a loose two-tire stack or jump from it. Use a step or floor version; stop if the structure moves or the child cannot see the landing surface.
Make It Easier: Step over one flat tire on the ground.
Make It Harder: Carry a soft object through a fixed low station, without adding height.
Teacher Cue: "One foot, check stable, then the other—step down facing the station."
Activity 8-23: Low-to-High Tire Step Route

Low-to-High Tire Step Route

The source shows a low-to-high tire staircase. Translate it to approved low stations or floor markers, with children choosing a step rather than a jump.

Teacher Notes: Setup, Safety & Variations
Aim: Plan a route with changing step demands while keeping the movement controlled.
Equipment: Inspected, fixed low stations with suitable surfacing, or flat tires and floor spots for a ground-level sequence.
Setup: Use one clear route with a walk-out. The educator checks every station and stands where the child begins the descent.
Steps: Start at the lowest station, pause after each step, choose the next foot placement, and return down rather than jumping off.
Safety: Never build a loose tire staircase. Do not increase height as a contest or allow a child to jump down; follow the installed equipment policy.
Make It Easier: Use a sequence of colored floor spots with no elevation.
Make It Harder: Ask the child to describe the next station before stepping, keeping the same route.
Teacher Cue: "Look up the route, step slowly, and plan the way back down."
Activity 8-24: Secured Tire-Wave Crawl

Secured Tire-Wave Crawl

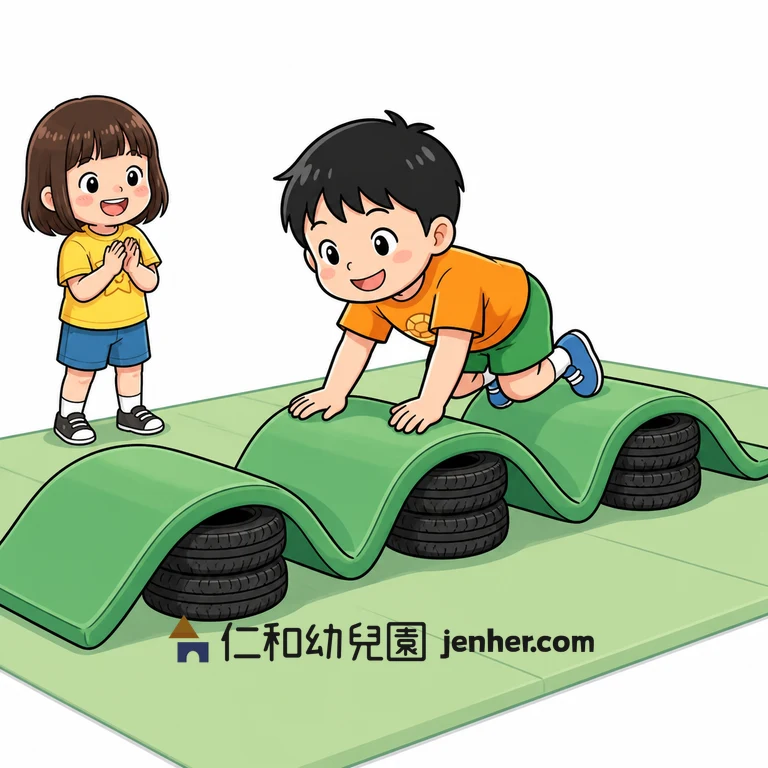
The source shows a mat over tire waves. Use only a professionally secured, low obstacle; a flat mat and floor-level rolling path are safer substitutes.

Teacher Notes: Setup, Safety & Variations
Aim: Adjust the hands, knees, and trunk to a gently changing floor surface.
Equipment: A program-approved low obstacle with the mat secured, or a firm floor mat for the ground-level version.
Setup: Inspect the full surface and keep one child at a time on the route. Provide a clear crawl-off area.
Steps: Begin on hands and knees, crawl slowly over the surface, pause at the end, and walk back around the route.
Safety: Do not lay a loose mat over loose tires. No running, jumping, or standing on a shifting wave; stop if the surface moves or folds.
Make It Easier: Crawl on a flat mat with a toy target at the end.
Make It Harder: Carry a soft beanbag on the back while crawling on a flat mat, not a raised obstacle.
Teacher Cue: "Hands and knees feel the path—slow crawl, clear exit."
Activity 8-25: Installed Tire Arch Path

Installed Tire Arch Path

The source shows partly buried upright tires forming an arch. Use only an inspected, fixed installation; portable tires stay flat for a step-around version.

Teacher Notes: Setup, Safety & Variations
Aim: Explore a curved pathway while noticing the feet and surrounding space.
Equipment: A professionally installed and inspected tire arch with suitable surfacing, or flat tires for a ground-level pathway.
Setup: Follow the site owner's inspection rules. Keep the route clear and place the educator at the entry and exit.
Steps: Walk beside the arch first, then pass through the open section only if the installation is stable and the educator approves.
Safety: Do not partially bury or prop tires yourself. No walking on a curved tire top, jumping from the arch, or entering a narrow opening that could trap a body part.
Make It Easier: Walk around a flat tire and trace its circle with a finger.
Make It Harder: Add a stop at the exit and identify the direction of the next floor marker.
Teacher Cue: "Check the arch, walk through the open space, and keep both feet on the ground."
Activity 8-26: Installed Tire Climbing Wall

Installed Tire Climbing Wall

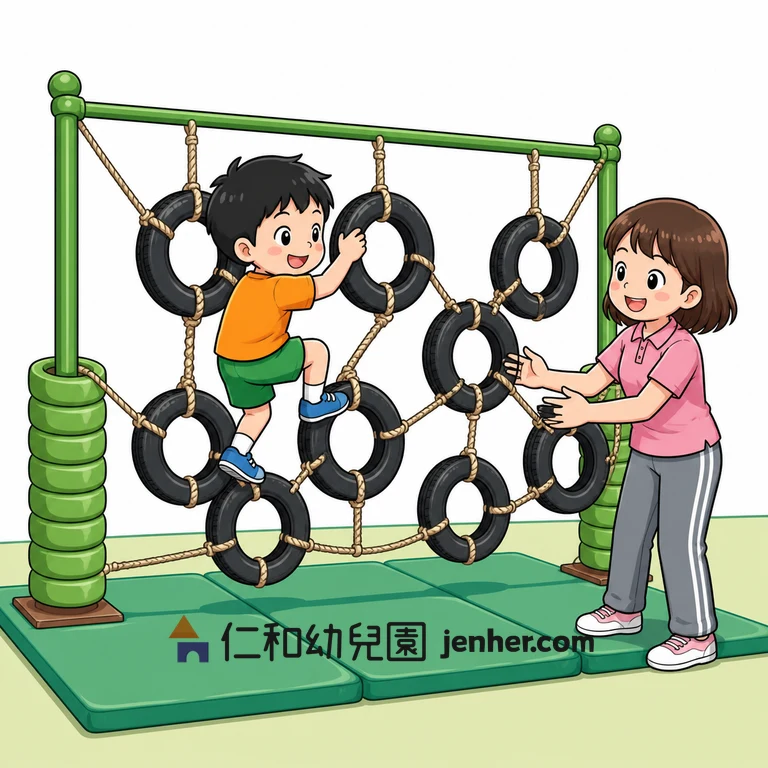
The source shows a vertical tire climbing wall. Treat it as fixed playground equipment, not a DIY activity; children use it only under the site's inspection and supervision plan.

Teacher Notes: Setup, Safety & Variations
Aim: Plan a climb and descent on equipment designed for that use.
Equipment: A professionally designed, inspected tire-climbing structure with compliant surfacing and site-specific supervision.
Setup: Use only the structure's designated route. Keep one child on the wall and follow the facility's entry, exit, and fall-space rules.
Steps: Observe the route, place hands and feet on designated holds, climb only to a comfortable point, and descend facing the structure.
Safety: Never attach tires to a homemade frame or climb loose upright tires. Do not jump from the wall; stop when grip or attention fades.
Make It Easier: Practice a low floor-level obstacle with hands and knees.
Make It Harder: Name the next hold before moving, without adding height or speed.
Teacher Cue: "Use the structure as designed—three points steady, then move one point."
Activity 8-27: Tire Ring Toss Target

Tire Ring Toss Target

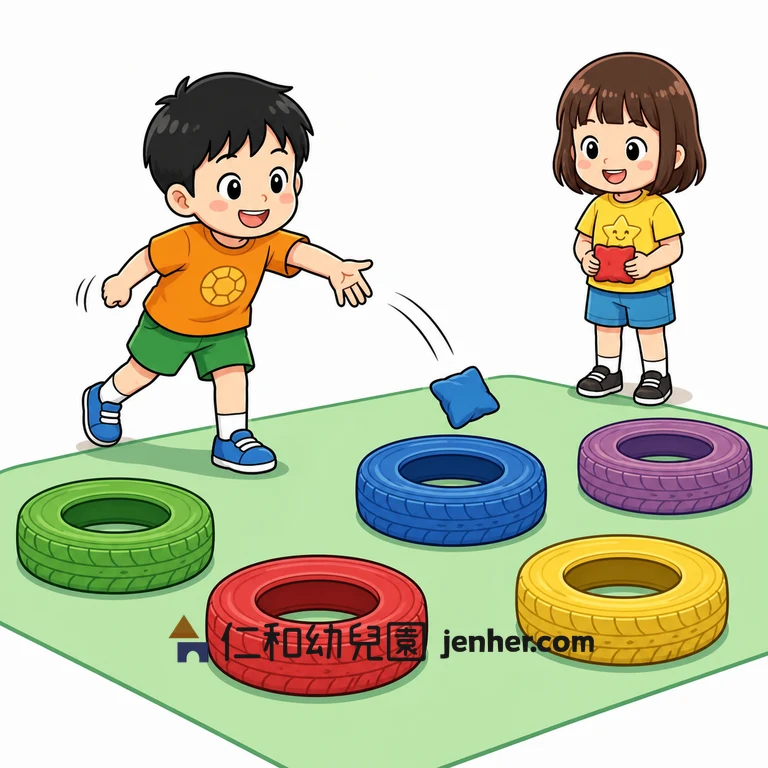
Lay several tires flat as targets and invite children to toss soft beanbags into a chosen opening, then retrieve them together when the lane is clear.

Teacher Notes: Setup, Safety & Variations
Aim: Adjust a gentle toss to reach a visible target.
Equipment: Flat, stable tires and soft beanbags or foam balls; optional colored floor spots mark the throwing lines.
Setup: Use separate lanes and targets. Children wait behind a line until the educator signals retrieval.
Steps: Choose a tire, stand behind the line, toss underhand, watch where the object lands, and retrieve after the signal.
Safety: Use soft objects and flat targets only. Do not hang or stack tires, throw toward people, or enter the target area during a throw.
Make It Easier: Roll the beanbag into the tire from a closer line.
Make It Harder: Let the child choose between a near and far flat target, without scoring children against each other.
Teacher Cue: "Aim for the open middle, gentle toss, wait, and retrieve."
Activity 8-28: Tire Roll-to-Stop Challenge

Tire Roll-to-Stop Challenge

The source shows bumper-car-style tire collisions. Adapt it to separate lanes where children roll a lightweight tire toward a stop zone and keep the tires apart.

Teacher Notes: Setup, Safety & Variations
Aim: Grade pushing force to reach a target without impact.
Equipment: Two or more lightweight, clean tires and clearly separated stop zones.
Setup: Set one-way lanes with a wide buffer. The educator controls one roll at a time and checks the run-out.
Steps: Place the tire behind the line, push gently toward its own stop zone, watch it settle, and return outside the lane.
Safety: Do not roll tires into one another, toward feet, or downhill. No child rides inside a tire; stop the game if a tire veers out of its lane.
Make It Easier: Use a soft ball and a floor target instead.
Make It Harder: Vary the width of the stop zone while keeping lanes separate and the tire lightweight.
Teacher Cue: "Your tire has its own lane—gentle roll, stop zone, no collisions."
Frequently Asked Questions

Tire Play in Early Childhood — Teacher FAQ

Practical guidance on tire inspection, floor-level pathways, installed structures, and inclusive gross motor exploration.

What kind of tire works for preschool tire activities?
Use a clean, intact, lightweight tire only when an educator can control it and the surface is dry and level. A soft ring or floor marker is often a better substitute. Do not use a tire with exposed wire, sharp edges, trapped water, or unpredictable movement.
Can I build tire stacks, arches, or climbing walls for a classroom?
No. Loose tire stacks, partly buried tires, improvised arches, and homemade climbing walls are not classroom construction projects. The cards label those source images as installed-equipment ideas only; use them only when a professionally designed structure has been inspected and the site policy permits it.
How can I use tires indoors?
For indoor settings, use flat tires or soft rings for step-in-and-out patterns, floor targets, rolling-to-stop, and pretend steering. Check the floor, keep walkways clear, and use a lighter prop when a tire is too heavy or difficult for a child to control.
Should children sit in or ride inside a tire?
No. These adaptations use tires as floor-level markers or teacher-controlled props. Children do not sit in, ride, pull heavy tires, or roll tires toward one another or toward feet.
What skills can educators observe during tire play?
Educators may observe stepping, balance, crawling, jumping, pushing, pulling, visual tracking, spatial planning, and cooperation. Adjust the challenge through spacing, pace, and floor-level alternatives rather than by adding height or competitive force.
ADVERTISEMENT